Aliens: Fireteam Elite 2 Enemy Weaknesses and Priority Guide
Recognize Xenomorph roles, choose target priority, counter armor, ambushes, grapples, summoners, and keep the fireteam formation intact.
Direct answer
Prioritize the enemy that can break the formation: kill Sirens before their summons multiply pressure, stop grapplers and ambushers entering team space, flank frontal armor, and use controlled range against explosive or leaping threats.
Quick answer
- Threat priority depends on disruption, distance, and formation risk rather than enemy size alone.
- Sirens, grapplers, ambushers, and enemies already inside the squad usually outrank distant fodder.
- Crusher frontal armor calls for flanking instead of wasteful straight-ahead fire.
- Exploders and Facehuggers require spacing so the squad can answer without damaging or trapping allies.
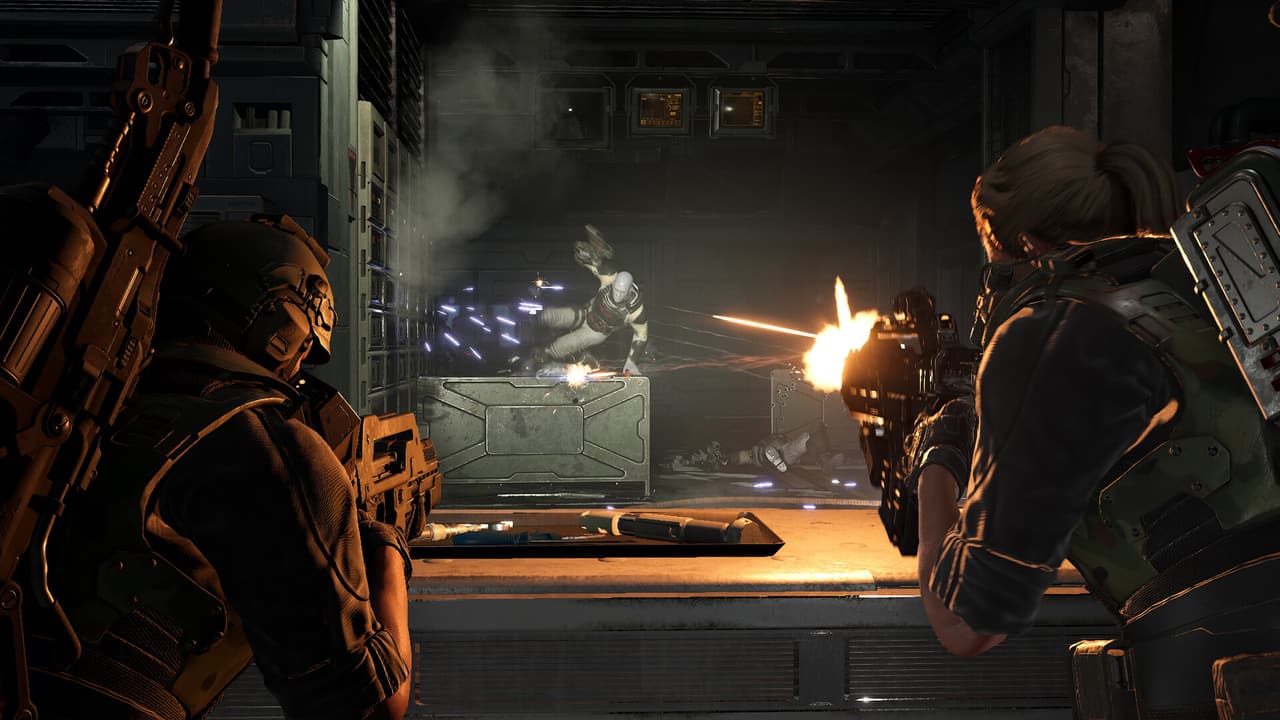
Use Threat Role Before Enemy Name
When several enemies arrive together, classify what each one can do to the fireteam. The first target is the one that most quickly removes player control, destroys the formation, or multiplies the wave.
| Threat role | What it does | Priority rule |
|---|---|---|
| Summoner | Adds more pressure while it remains alive | Kill early when the Siren is active |
| Disabler or grappler | Removes one marine from the fight | Focus before it reaches team space |
| Armored blocker | Absorbs frontal attention while other enemies close | Control it, expose a flank, and keep side lanes covered |
| Ambusher or leaper | Bypasses the expected approach | Watch vents, walls, and long-range launch angles |
| Explosive threat | Punishes clustered players | Create distance and finish it away from allies |
| Ordinary attacker | Applies steady lane pressure | Clear efficiently after higher-impact threats are controlled |
This system remains useful when an unfamiliar enemy appears. Ask what control it removes and how soon it can do so.
Official Xenomorph showcase
Study the movement, attack role, and pressure pattern of the featured Xenomorph types before applying the counter table below.
Xenomorph Counter Directory
| Enemy | Battlefield role | Immediate counter | Mistake to avoid |
|---|---|---|---|
| Drone | Mobile ambusher that can use vents | Keep a watcher on alternate entries and focus it when it commits | Letting all four players aim down one corridor |
| Facehugger | Low-profile close threat often associated with eggs | Read the floor, create space, and remove it without panicked crossfire | Crowding the threatened teammate |
| Warden | High-pressure brawler and space controller | Split angles and prevent it from dictating the whole formation | Standing in one compressed line in front of it |
| Exploder | Proximity punishment | Finish it at controlled range and call its approach | Killing it beside an ally or the retreat route |
| Crusher | Frontal armored blocker | Control its advance and attack from a flank | Feeding ammunition into frontal armor while side lanes collapse |
| Siren | Summoner whose presence increases the wave | Call and remove it before the extra pressure grows | Treating its modest direct threat as low priority |
| Praetorian | High-danger grappler | Keep distance, use cover and control, then focus during the opening | Fighting inside its preferred melee space |
| Harbringer | Leaping pressure from range | Maintain distance and track the launch lane | Allowing the squad to cluster at the landing point |
| Striker | Heavy brute that demands strong stopping power | Commit heavy weapons and focused fire while control holds it | Spending all heavy damage before it appears |
The table describes tactical role. Exact damage values and hidden multipliers can change with builds and difficulty, so the reliable counter is the interaction you can observe: range, armor direction, summon pressure, grapple risk, and movement route.
Build a Priority Queue in Three Seconds
Use this order during a mixed wave:
- Inside the formation: anything already grappling, leaping, or attacking among the marines.
- Multiplying pressure: Siren or another threat creating additional enemies.
- Imminent disruption: ambusher, grappler, Exploder, or elite about to reach the team.
- Armored blocker: control it, then create a flank instead of letting it consume all attention.
- Lane pressure: clear ordinary enemies efficiently while preserving answers for the next special.
The caller can reduce this to two words: enemy name and location. “Siren left” is useful. A long description during a collapse is not.
Counter Armor Without Losing the Room
Crusher frontal armor changes the geometry of the fight. One player should maintain its attention or slow its advance while another attacks from a useful side angle. The remaining players keep ordinary enemies out of the formation.
| Squad state | Correct action | Why it works |
|---|---|---|
| Crusher is distant | Clear side pressure and prepare the flank | The squad creates room before armor reaches the hold |
| Crusher reaches the lane | Apply control and rotate one attacker | Damage gains an angle without moving the whole team |
| Other enemies enter team space | Pause the flank and restore the formation | A perfect armor angle has no value if the squad is surrounded |
| Retreat begins | Move through the planned exit while control delays pursuit | Prevents four players from scattering around the armored target |
Heavy damage should support the angle, not replace it. If frontal fire produces little visible progress, stop paying the same cost and change the geometry.
Handle Ambushes, Leaps, and Grapples
Ambush threats win when every player looks forward. Assign the rear or support position to scan vents, walls, eggs, and side routes during a hold.
Drone from an alternate route
Call the entry, turn only the players with a clear lane, and keep one weapon covering the original approach.
Best for: Preventing a full-team camera swing
Facehugger near a teammate
Create space around the threatened player and use a controlled shot or burn response without crowding them.
Best for: Low-profile close threats
Praetorian grapple pressure
Use cover and control before it reaches melee range, then focus while the target is exposed or delayed.
Best for: Protecting player control
Harbringer leap
Track the launch line, spread the landing area, and punish recovery at range.
Best for: Long approach rooms
If the team repeatedly reacts late, move the control trigger earlier. Use the ability when the enemy crosses the final safe distance, not after it has already removed a player from the fight.
Fight Exploders Without Team Damage
The counter has three steps:
- Call the Exploder as soon as its route becomes clear.
- Move the nearest marine away from teammates and the planned retreat path.
- Finish the target at range once the blast cannot punish the formation.
When an Exploder reaches the group, survival takes priority over maintaining damage. Stop firing through teammates, create separation, and restore lanes after the blast risk is gone.
Prepare Roles for Mixed Waves
| Squad job | Enemy responsibility |
|---|---|
| Direct damage | Finishes the current called target and returns to lane pressure |
| Area control | Delays armored, grappling, or clustered threats before they enter team space |
| Sustain | Keeps the threatened marine alive and protects revive or recovery windows |
| Priority removal | Finds Sirens, ambushers, leapers, and exposed elite targets early |
See the class guide for role options and the weapons guide for the current weapon directory.
Diagnose Repeated Enemy Failures
| Failure | Root question | Next change |
|---|---|---|
| Specials are noticed too late | Who owns alternate-route scanning? | Assign a rear watcher before the hold |
| Siren waves keep growing | Is direct size being mistaken for priority? | Make summoning an automatic early call |
| Crusher consumes all ammunition | Is the squad attacking frontal armor? | Control, flank, and keep two players on lane defense |
| Grapples repeatedly remove a player | Is control spent before the dangerous target appears? | Reserve one stop and define its trigger distance |
| Exploders damage multiple marines | Is the group clustered around the target? | Call earlier and clear the blast area |
| Focus fire leaves the squad surrounded | Did every player abandon lane ownership? | Keep at least one player covering ordinary pressure |
Frequently Asked Questions
Was this helpful?
Continue reading
These related Aliens: Fireteam Elite 2 pages answer the next questions around this topic.