Aliens: Fireteam Elite 2 Beginner Guide
Plan your first missions, choose a class, manage firing lanes, understand weapon stars, attachments, augments, and challenge cards.
Direct answer
Begin on Casual or Standard, pick one clear squad job, enable persistent shoulder ADS and permanent outlines, then judge each run by clean lanes, controlled resource use, and post-extraction weapon progress.
Quick answer
- Choose Casual for a first shooter or Standard for an experienced third-person squad.
- Duelist gives a new player a direct sustained-damage job with an easy success condition.
- Weapon XP resolves after extraction, so review stars after the mission rather than mid-fight.
- Treat every failed run as one problem to fix: lanes, threat priority, resources, or build focus.
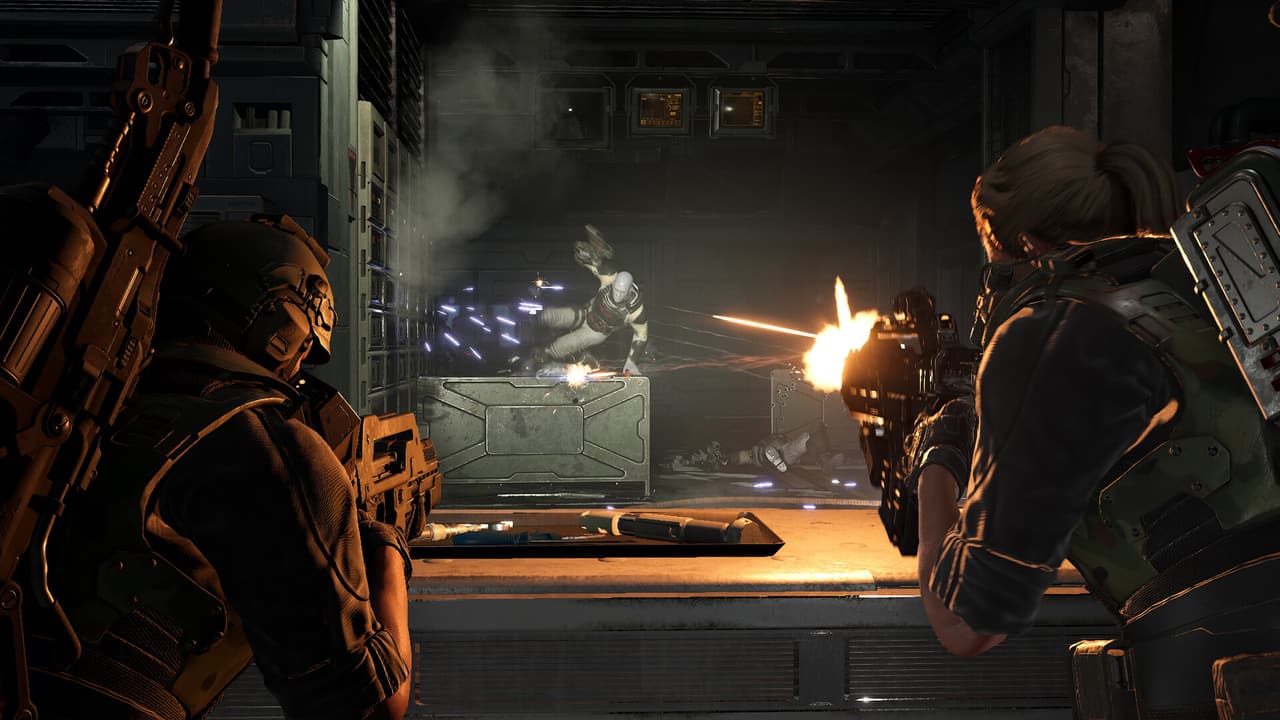
Your First Three Missions
The fastest way to learn is to give each mission one purpose. Trying to understand every class, perk, attachment, enemy, and challenge card at once creates noisy feedback. Use this sequence instead:
- Mission one: learn movement, shoulder aim, ability timing, and extraction without adding a challenge card.
- Mission two: keep the same class and weapon so you can notice weapon growth and identify one recurring combat problem.
- Mission three: change one variable, such as an attachment, modifier, or difficulty, and compare the result.
Success during these missions means you can explain why damage reached the squad and what you will change next. A clean explanation is more useful than a lucky clear.
Choose a Starting Class by Job
Use Duelist when you want the clearest beginner job: maintain weapon pressure on the current priority target and use explosive control to create room. It is a practical start, not an objective ranking of all six classes.
Duelist
Learn target focus, firing lanes, and sustained weapon pressure without carrying the squad's entire support plan.
Best for: A direct first combat role
Medic
Take responsibility for team sustain, revive windows, and station placement while still contributing weapon damage.
Best for: A player who watches squad health
Machinist
Control a defended area with automated support and learn to place tools before pressure arrives.
Best for: Positioning and area control
Hunter
Reserve accurate fire and control tools for dangerous targets instead of spraying the first enemy in view.
Best for: A patient precision player
Marauder is the heavy-damage option when you already understand safe blast placement. Specialist becomes more useful after other classes have unlocked enough abilities, passives, core perks, and replacers to build a focused hybrid. See the complete class comparison before changing roles.
Fix Readability Before Combat
Two settings provide a strong baseline before the first drop:
| Setting | Recommended change | What it solves |
|---|---|---|
| Persistent shoulder ADS | Enable it | Keeps the aiming perspective consistent between engagements |
| Permanent enemy and ADS outlines | Enable them | Makes targets easier to track through effects, darkness, and squad movement |
After changing them, enter one mission before touching sensitivity again. Change only one aiming variable at a time, then test it during both a quiet corridor and a pressured hold. That gives you a useful comparison instead of a stack of settings with no clear cause.
Use a Four-Question Combat Loop
Every encounter can be reduced to four questions:
- Where is the safe firing lane? Stand where teammates can move without crossing your muzzle.
- Which threat changes the fight? A disabler, summoner, armored blocker, or enemy already inside the formation takes priority over distant fodder.
- Which tool buys space? Use control before the formation collapses, not after every player has been displaced.
- What survives next? Preserve enough healing, ammunition, and major cooldowns for the next pressure event.
This loop prevents the most common beginner failure: spending every strong tool on harmless targets, then entering the dangerous phase with no answer.
Beginner systems and first-mission overview
Watch the class, settings, weapon progression, attachment, and challenge-card systems in one continuous beginner route.
Build a Stable Firing Formation
Use a wide, shallow formation in corridors. The front player should avoid weaving across the full width, rear players should fire past a clear shoulder, and anyone repositioning should move behind the firing line where possible.
| Situation | Front player | Middle players | Rear player |
|---|---|---|---|
| Narrow corridor | Hold one edge and avoid side-to-side dodging | Use the opposite lane and watch wall approaches | Cover leaks and call targets that enter the formation |
| Defended room | Anchor near an escape route | Cover separate approach angles | Watch the route the team will use if the hold breaks |
| Elite push | Lead the retreat without turning through allies | Focus the called threat | Save control for the point where the target enters team space |
| Resource pickup | Stop firing before crossing lanes | Cover the player interacting | Check the next approach rather than crowding the pickup |
Friendly-fire pressure rises with difficulty. Learning lane discipline on the first missions saves more health later than chasing small damage gains.
Read Weapon Progress After Extraction
Weapon use earns XP after extraction. The four-star sequence gives you a simple progression checklist:
| Weapon star | Unlock | Beginner decision |
|---|---|---|
| 1 star | Weapon trait | Learn what the weapon rewards before replacing it |
| 2 stars | Colorway | Cosmetic progress, with no need to rebuild the loadout |
| 3 stars | Universal core perk | Check whether the perk supports another weapon or class plan |
| 4 stars | Augment slot | Revisit the weapon when you can shape it around a specific job |
Do not judge progress from an unfinished run. Reach extraction, check the new star, and read the unlocked effect before changing several loadout pieces.
Add Attachments and Augments With a Purpose
Attachments become available through campaign progress and can be purchased from the Armory. Challenge cards can also award attachments. Use each new piece to solve an observed problem:
| Observed problem | Loadout response | Test in the next mission |
|---|---|---|
| Reloads interrupt every pressure window | Favor reload support | Whether you can finish a wave without abandoning the lane |
| The weapon drifts off weak points | Favor stability or accuracy | Whether sustained fire remains on the intended target |
| Close targets enter the formation | Add control or handling support | Whether you can create space before taking damage |
| Strong tools are unavailable too often | Review cooldown and uptime choices | Whether the ability is ready for the next meaningful threat |
One solved problem is a build. A collection of unrelated bonuses is only inventory.
Use Challenge Cards After the Baseline Run
Challenge cards change conditions and rewards. Easier cards pay less, while harder cards pay more. Read the condition and reward together, then ask whether the card interferes with the skill you are currently testing.
Skip a difficult card when your group still cannot hold lanes, protect resources, or recover from an elite entering the formation. Add it once the baseline route feels repeatable. The additional reward then measures mastery instead of masking a weak foundation.
Review Every Extraction
Use this two-minute debrief before queuing again:
| Review | Good signal | Adjustment when it failed |
|---|---|---|
| Role | You knew which threats and squad problem belonged to you | Restate one job or choose a class with a clearer job |
| Lanes | Teammates rarely crossed active fire | Slow the front player and assign corridor sides |
| Threat priority | Dangerous enemies died before they disrupted the group | Use one shared target call and reserve control |
| Resources | The squad reached the final pressure with healing and ammunition | Reduce early waste and share pickups by need |
| Progression | You can name the new weapon star or loadout change | Check progression after extraction before replacing gear |
For a bot-supported route, continue with the solo guide. For a full group, use the co-op setup and recovery guide.
Diagnose a Stalled Start
| Symptom | Likely cause | Next test |
|---|---|---|
| Aiming still feels inconsistent | Too many settings changed together | Keep outlines on and test one sensitivity change |
| The squad takes damage while retreating | Players cross firing lanes | Assign a retreat direction before the next hold |
| Abilities are always unavailable for elites | Cooldowns are spent on low-impact targets | Reserve one control tool for the threat that changes the fight |
| A weapon appears stuck | Progress was checked before extraction | Finish the mission and review the star afterward |
| New attachments do not improve the run | Bonuses do not answer an observed problem | Rebuild around one failure from the last extraction |
| Challenge cards cause chaotic failures | The baseline route is not repeatable | Remove the card until the same mission can be cleared cleanly |
Frequently Asked Questions
Was this helpful?
Continue reading
These related Aliens: Fireteam Elite 2 pages answer the next questions around this topic.