Aliens: Fireteam Elite 2 Difficulty Guide
Choose a starting difficulty, prepare for friendly fire and resource pressure, unlock Insane, and diagnose why a squad is stuck.
Direct answer
Choose Casual when someone is new to shooters and Standard when the squad already handles third-person combat. Move higher only after the group can hold lanes, preserve resources, and stop priority threats without repeated collapses.
Quick answer
- The campaign has five difficulty modes from Casual through Insane.
- Casual is the starting point for first-time shooter players; Standard fits experienced third-person players.
- Insane unlocks after completing the campaign on another difficulty.
- Higher settings make friendly fire, enemy pressure, and resource discipline more important.
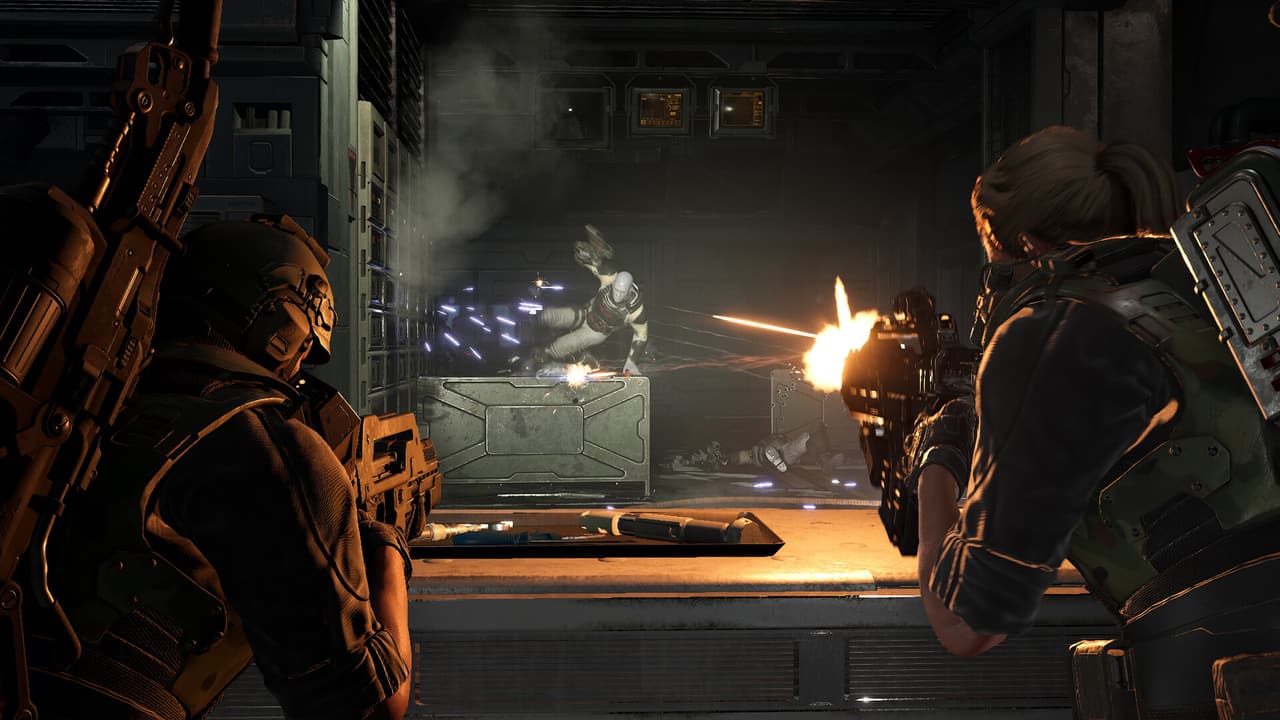
Choose Difficulty by Failure Cost
The useful question is how much punishment your group can absorb while still learning. A difficulty is productive when mistakes are visible and recoverable. It is too high when every attempt ends before the squad can identify which decision caused the collapse.
| Choice | Use it when | Move up when | Move down when |
|---|---|---|---|
| Casual | One or more players are learning shooter controls | Players can aim, move, use abilities, and finish missions with a clear formation | The group still cannot read targets or complete the basic loop |
| Standard | Everyone understands third-person combat | Friendly fire is controlled, resources survive late pressure, and elite responses are repeatable | Most failures happen before the squad can practice the intended encounter |
| Higher available mode | The squad wants stricter execution tests | Two or more clean clears show that the current setting no longer exposes new weaknesses | Damage, ammunition, healing, or enemy density creates several failures at once |
| Insane | The campaign is complete and the squad wants the top end of the five-mode range | Keep it as the mastery target | Return to a lower setting when attempts produce no actionable learning |
Insane unlocks after one campaign completion on another difficulty. Treat that requirement as an invitation to build a complete team process before chasing the final mode.
Use a Readiness Scorecard
Score each item after a full mission. Move up when the squad can answer yes to at least four, including lane safety and resource control.
- Lane safety: teammates rarely enter active fire.
- Threat priority: disablers, summoners, armored blockers, and enemies inside the formation are called quickly.
- Control timing: at least one control tool remains available for the threat that changes the fight.
- Resource control: healing and ammunition survive until the final pressure.
- Recovery: the group can retreat without scattering or blocking each other.
- Build clarity: every loadout solves a named squad problem.
Damage output alone cannot replace these checks. Higher pressure amplifies coordination mistakes that a lower setting lets the group survive.
Full mission combat flow
Use the mission footage to study corridor spacing, pressure transitions, and the timing demands that become more important as difficulty rises.
Prepare for Friendly Fire
Friendly fire turns movement into a team resource. Use lane ownership before optimizing damage:
| Encounter shape | Formation rule | Common failure |
|---|---|---|
| Narrow corridor | Front player holds one edge; rear fire uses the opposite shoulder | Front player dodges across both lanes |
| Wide room | Divide left, center, and right approaches | Everyone rotates toward the first visible target |
| Retreat | Move through one preselected exit | Players reverse through teammates while firing |
| Elite focus | One caller names the target; other lanes remain covered | All four players tunnel on the elite and allow ordinary enemies inside |
| Revive or interaction | One player acts while others form an outward arc | The whole squad crowds the same point |
When friendly-fire damage becomes a recurring cause, lower the difficulty only long enough to practice the formation. Raise it again after two runs with visibly cleaner lane discipline.
Budget Healing, Ammunition, and Cooldowns
Use thresholds instead of vague calls such as “save resources.”
Healing
Heal when the current health loss threatens the next pressure window, and give limited recovery to the player whose role keeps the formation alive.
Best for: Preventing avoidable downs
Ammunition
Use efficient primary fire on ordinary enemies and preserve specialized damage for armored or priority threats.
Best for: Long missions and dense waves
Control cooldowns
Keep one strong stop available whenever the squad enters an unknown room or begins a defended objective.
Best for: Recovering before enemies enter team space
Challenge cards
Remove an added condition while testing a new difficulty, then restore it after the baseline clear is repeatable.
Best for: Separating difficulty from card pressure
The goal is to arrive at the hardest pressure with options. Finishing an early room at full speed has little value when the squad spends every answer doing it.
Build for One Difficulty Problem at a Time
| Repeated failure | First build response | What to measure |
|---|---|---|
| Ordinary enemies flood the hold | Add area control or sustained lane damage | How many enemies enter the formation |
| One elite survives too long | Add priority control and focused damage | Time from target call to removal |
| The squad cannot recover after damage | Add sustain, resistance, or revive support | Whether one mistake still ends the run |
| Reloads break the firing line | Improve reload support or alternate weapon rhythm | Whether pressure continues through reload cycles |
| Abilities arrive too late | Improve uptime or stop spending them on low-impact targets | Whether control is ready for the next priority threat |
Change one loadout decision, run the same mission, and compare the same failure point. Multiple simultaneous changes make it hard to learn which choice helped.
Unlock and Approach Insane
Complete the campaign on another difficulty to unlock Insane. Before starting the Insane route:
- Choose a mission the squad already understands and replay it on the highest available lower setting.
- Confirm four squad jobs: direct damage, area control, sustain, and priority removal.
- Write down the retreat route and the control tool reserved for each major hold.
- Remove challenge cards for the first attempt so the test isolates difficulty.
- After the run, change one cause of failure and repeat the same route.
An Insane attempt is ready to continue when the squad can identify one dominant problem. When five different problems appear, return to the prior setting and stabilize the foundation.
Diagnose a Difficulty Wall
| Symptom | What it usually means | Corrective test |
|---|---|---|
| Teammates lose health during every push | Firing lanes and movement conflict | Assign corridor sides and one retreat route |
| Healing disappears before the final objective | Early damage is treated after it occurs | Use control earlier and set a healing priority |
| Ammunition runs out during ordinary waves | High-cost fire is being used without target priority | Separate ordinary-enemy and priority-target weapons |
| The formation collapses when one elite arrives | No player owns the stop | Reserve Hunter, Machinist, explosive, or Specialist control for that moment |
| First-Aid Kit counts look inconsistent | The run may still reflect a corrected spawn-count issue | Update the game and retry the same mission before redesigning the build |
| Enemy density feels inconsistent after updating | A corrected density issue may have changed the encounter | Relearn the room under the current client state |
| The team clears once and fails the next five attempts | The clear relied on luck or unsustainable resource use | Repeat on the prior setting until the process is stable |
Decide Whether to Stay, Move Up, or Move Down
Stay when the run exposes one useful weakness. Move up after two clean clears with resources, lanes, and threat calls under control. Move down when failure happens too early or too chaotically to teach the intended encounter.
Changing difficulty is a diagnostic decision. The best setting is the one that creates useful feedback for the next run.
Frequently Asked Questions
Was this helpful?
Continue reading
These related Aliens: Fireteam Elite 2 pages answer the next questions around this topic.